with 2D Properties
Jennifer Weiler
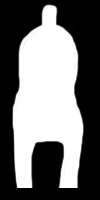
This project has centered around programmatically creating 3d objects from 2D images. To create such objects, I first required images of what the object should look like from several different angles. For simplicity, the first experiment used top, side, and front views as a basis.
As the basis for the 3d object, I first create a '3D cube space', which works much like a raster image. Traditionally, 3d images have been represented as vector images, which generally require less memory allocation since they only need to store mathematical formulas that represent the form. In contrast, raster images have to store unique values of every pixel. For my 3d version of this, instead of using pixels, I have created an object type called 'cube,' each of which has an x, y, and z value and represents the character of that spot in the 3d matrix.


To create the 3d form, I use a subtractive process to 'cut away' the part of the 3D cube space that is not part of the image. After cutting is complete, the form is hollowed out, resulting in only the cubes that are on the border of the form still being active. Afterwards, those points are skinned (divided up into planes connecting adjacent points that can serve as vector shapes). Those planes are then exported to a 3D file format, where they can be displayed in other programs.
Unfortunately, the exported files (at least so far), are not 3d printable due to their not being 'watertight' (meaning that their are either holes or extra planes in the surface of the object). In my case, this results from the formula I have used for skinning, which seeks out and connects nearby points. Occasionally, points are connected in a way that forms an extra 'bubble' to exist inside the mesh or are missing a necessary connection, which confuses the 3d printer.
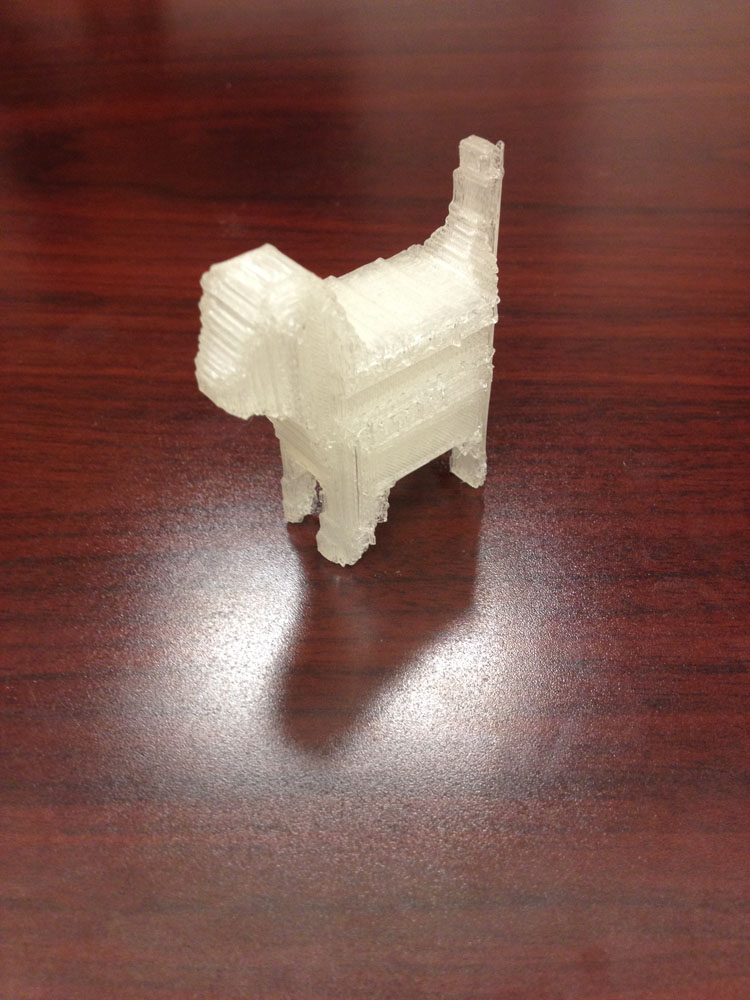
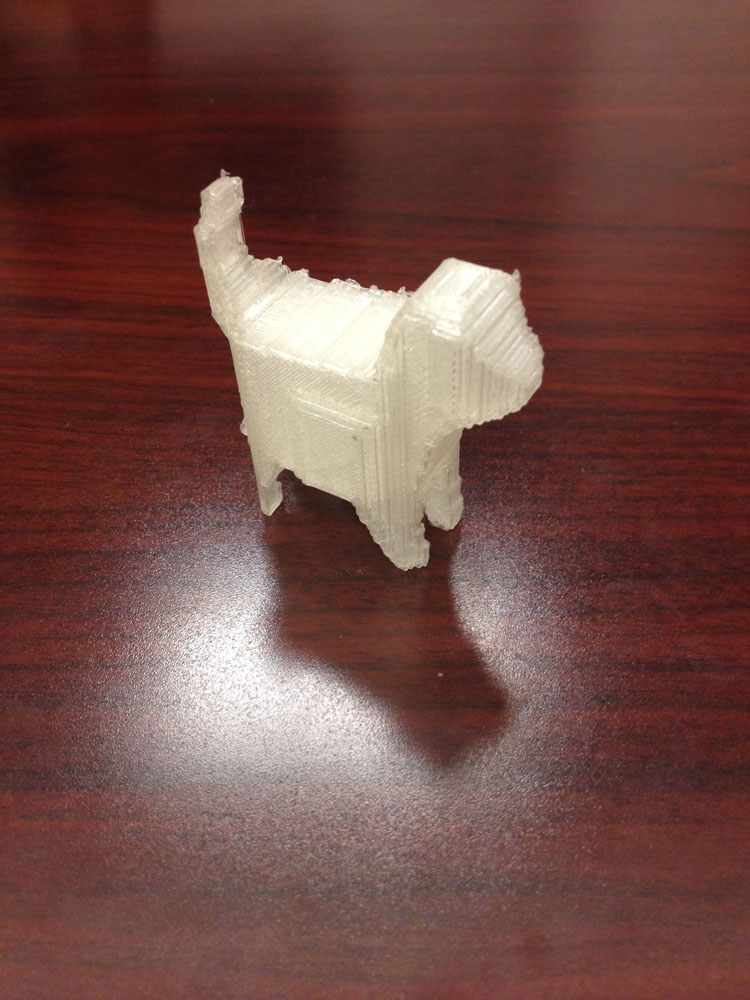
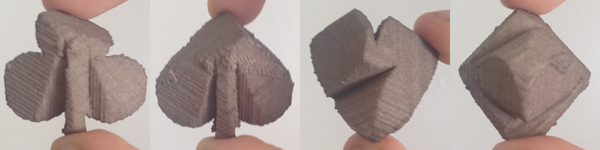
Fortunately, I have found I work around by avoiding the skinning process. Instead, I have the object exported and printed as the cubes, each of which is watertight (and thus causes no confusion or errors for the computer), but together correctly form the desired model.
below: printed dog model

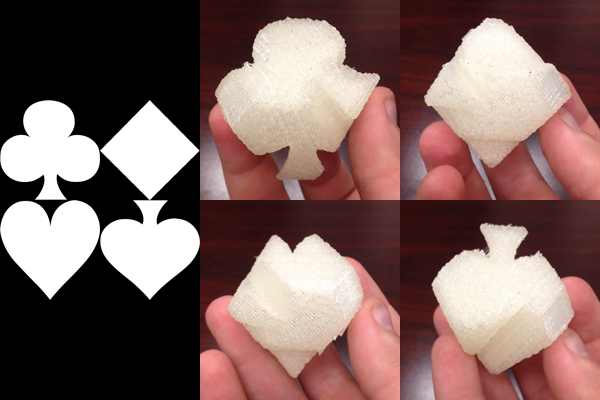
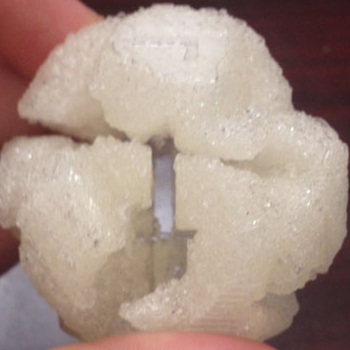
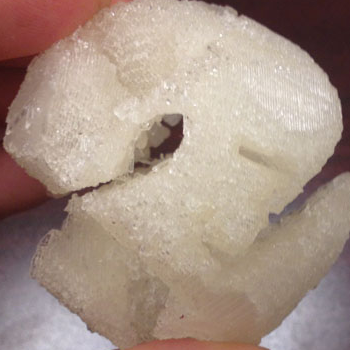
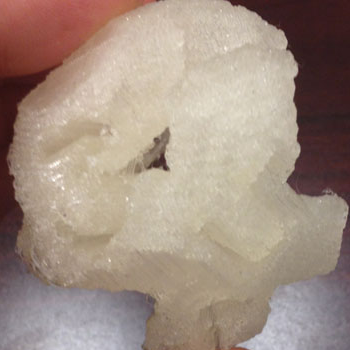
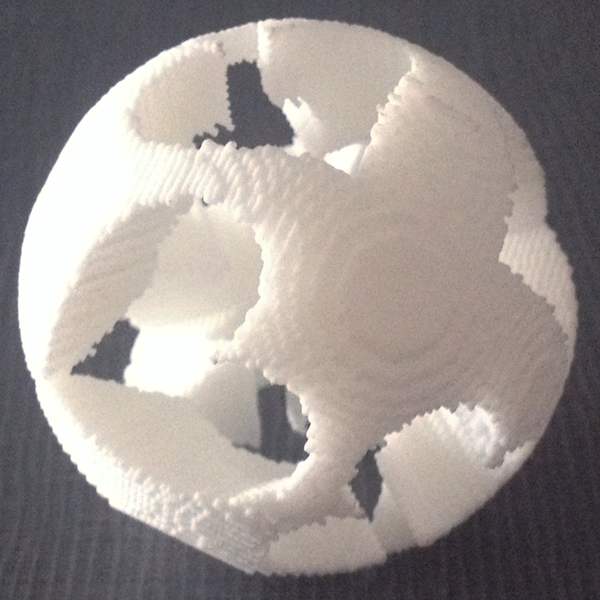
The exciting part about this process is that it allows for easy creation of 3D objects with 2D properties (meaning that, if viewed from a specific angle, the object will appear to resemble a specific shape). One experiment in the robustness of this process sought to create an object that could represent the four playing card suits. While some clipping did occur (most notably on the Heart), the results are promising.
below: source images (left) and 3d printed results (right)
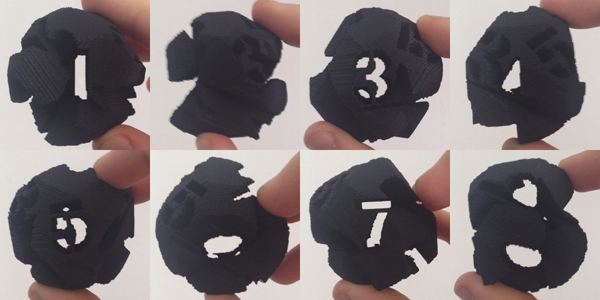
Every time a new image is cut out of the form, it increases the risk that part of the adjacent images will become less visible. As such, I have attempted to alleviate the problem by alternating between exterior and interior images. For example, for numbers 1-8, I cut away the even numbers in usual way, but had the odd numbers hollowed-out through the image. For the printed version of these, the main problem was the support structure (during the 3D printing process, a support structure has to be created around and inside the form). This support structure has to be cleared out in order to see through the hollowed-out shapes. Due to the small scale of the prints I've created, clearing out the support structure is difficult because of the size of the openings.
below: source images for numbers


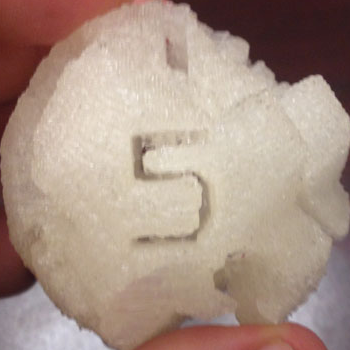
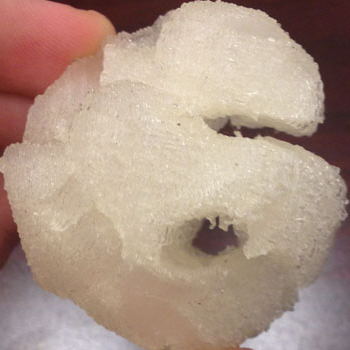
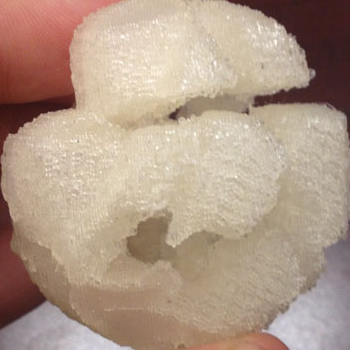
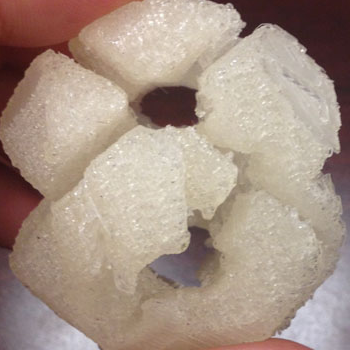
below: 3D printed results

Recently, I was able to get several of these items printed in different colors of plastic. The material allows the viewer to better see the surface details of the objects, which helps in explaining how the models are generated. Plastic is also very durable.
below: 4 card suits cut out of the interior
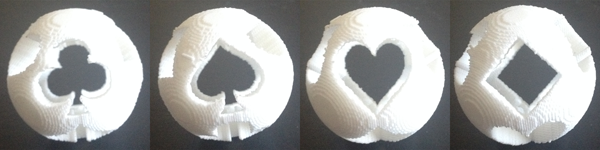
below: 4 card suits cut out

below: numbers 1 - 8
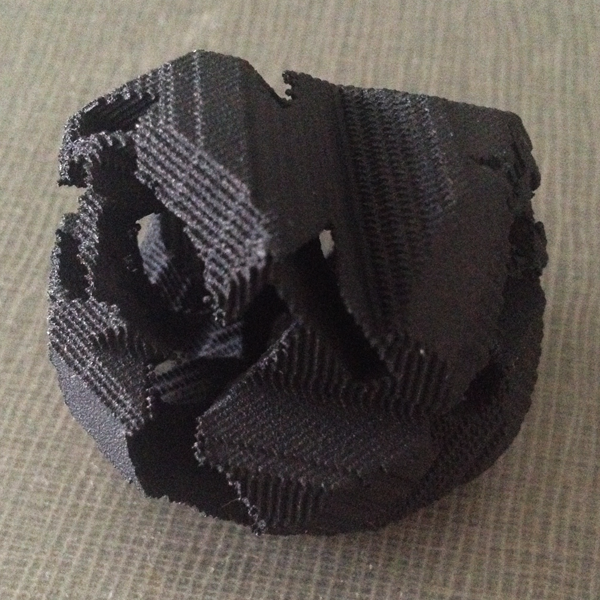
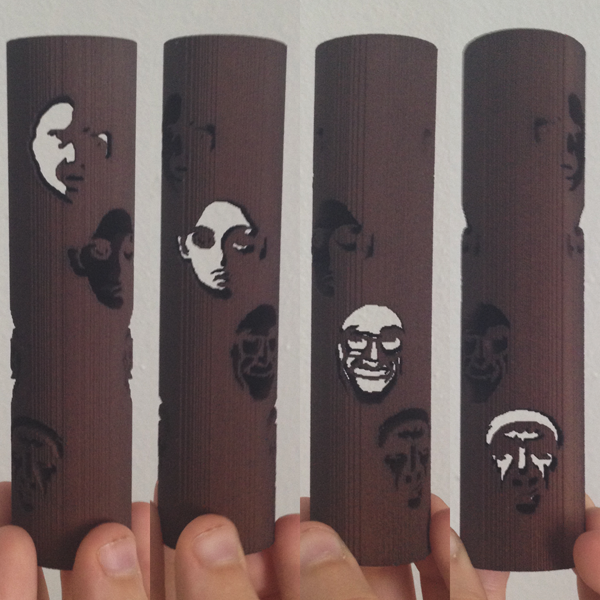
below: 4 faces cut out of cylinder