Jennifer Weiler
This is a continuation of CRAFTING COLORFUL OBJECTS: A DIY METHOD FOR ADDING SURFACE DETAIL TO 3D PRINTS in which images are distorted, printed, and applied to 3D prints as a means to give 3D models greater surface detial. In this project, we expand on this by creating a program that can generate complex 3D forms (not just the radially symmetrical ones of the previous work), and we focus on creating objects out of
the printed images without the use of an underlying 3D print support structure.
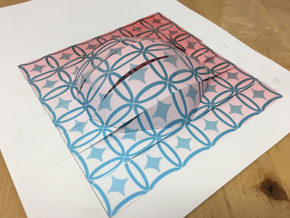
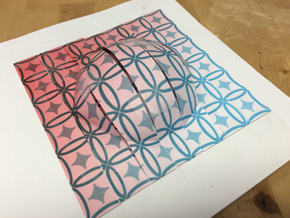
In order to form cut-out images into any shape, we felt that the easiest approach would be to divide the image into individual strips that could be morphed, printed out, and then assembled into the form. In order to test this approach, we created a distortion of a half-sphere from paper.
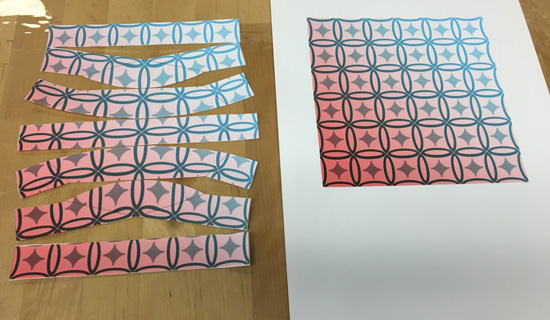
below: warped strips assembled to create complete image with bulging sphere underneath

To generate the models that the images are shaped to fit, we created a
Processing program that can be used to design simple models that can be directly translated into cut-out strips. Currently, models are limited in shape and detail,
but we are interested making a more expansive proogram or finding an efficient means to use preexisting 3D models.

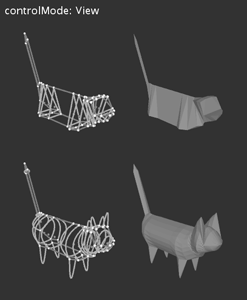
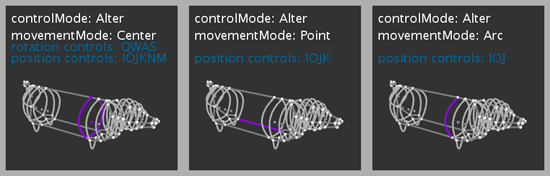
below: alter controls. Users can control the location and angle of each point ring, the position of individual points, and the length of the arcs between points.
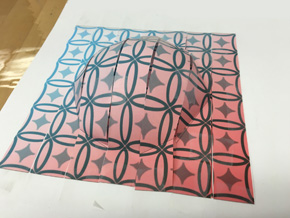
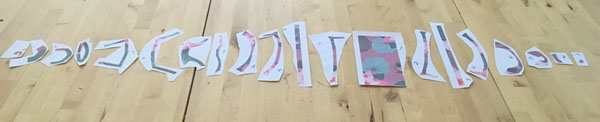
Using a flower pattern as a test image, we created a paper version of
one of the 3D model designs. In addition to the printed paper designs, the program also exports .svg shapes of the paper strips so that the images could be cut out using a laser cutter. However, for this test, we cut then with scissors.


The Processing program can also export a flattened representation of the 3D model. By drawing on top of this template (such as in Photoshop or another image editor) and using that image for the source image when producing the colored strips, the user can be sure that they know how the image will be deformed in the finished model.
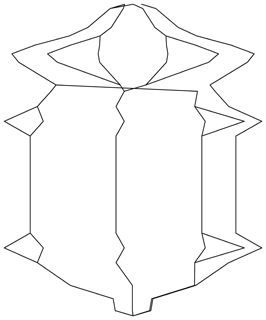

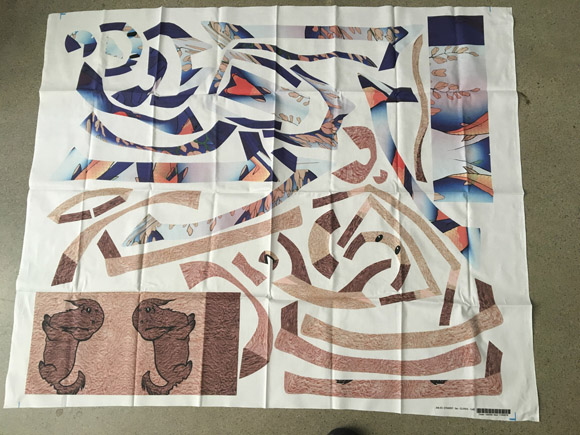
below: using Photoshop, designs were added to the original map. These images will be loaded into the program and used for designs on the exported image strips


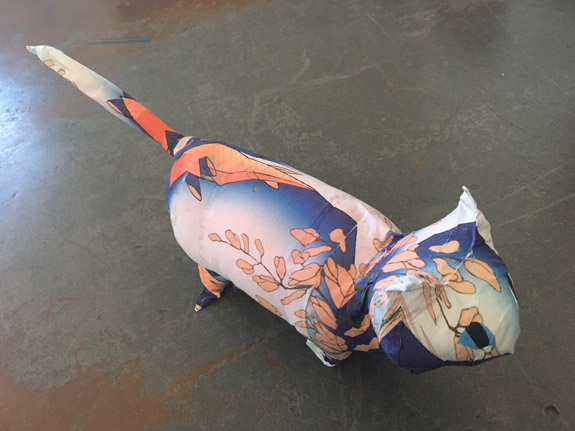
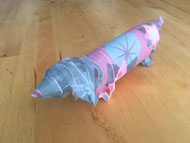
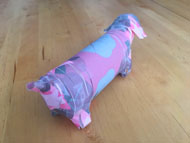
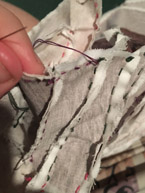
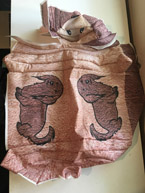
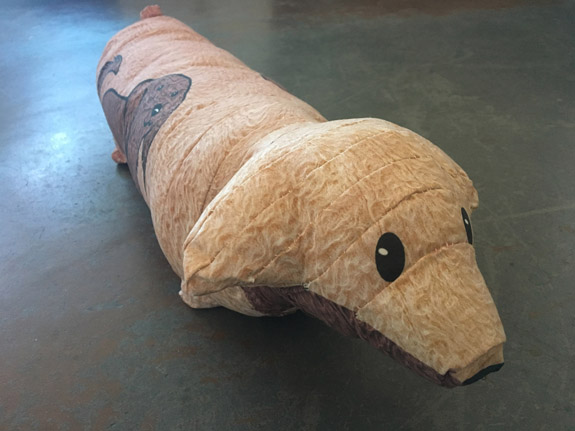
We had the image strips printed on fabric using a commerical service, but it could also be done using screenprinting depending on the simplicity of the design. The fabric strips were assembled (one with needle and thread and the other with fabric glue) and stuffed. Without the need for the underlying 3D print support structure, the finished objects could be much bigger than what is available with most affordable 3D printers.
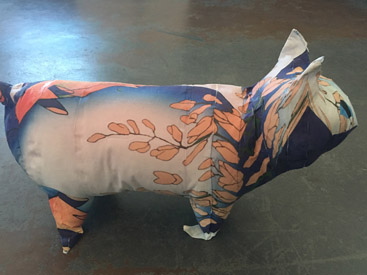
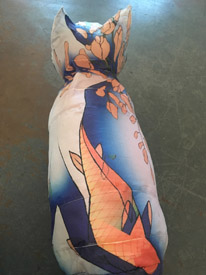
below: sowing process for creating fabric dog model. Future versions of the program should seek to merge sections and reduce the number of individual strips as much as possible (to reduce sowing / general assembly time).

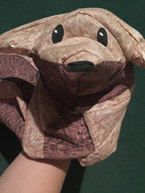
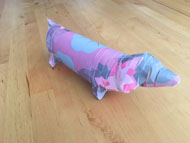
below: assembled dog model

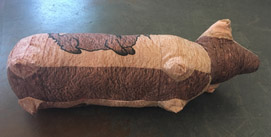
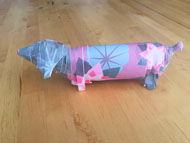
The cat model was assembled with the use of fabric glue. While fabric glue can be much quicker and more effective when attaching flat areas
of fabric, we found the assembly of this model with fabric glue to be very difficult
and required the fabric to be held in place until the glue was at least partially dry.